My sweet doggie Thelma passed away August 10, 2010. I miss my girl! And
since I got the Portrait, I wanted to try to create a fabric silhouette
of her. This is how I did it.
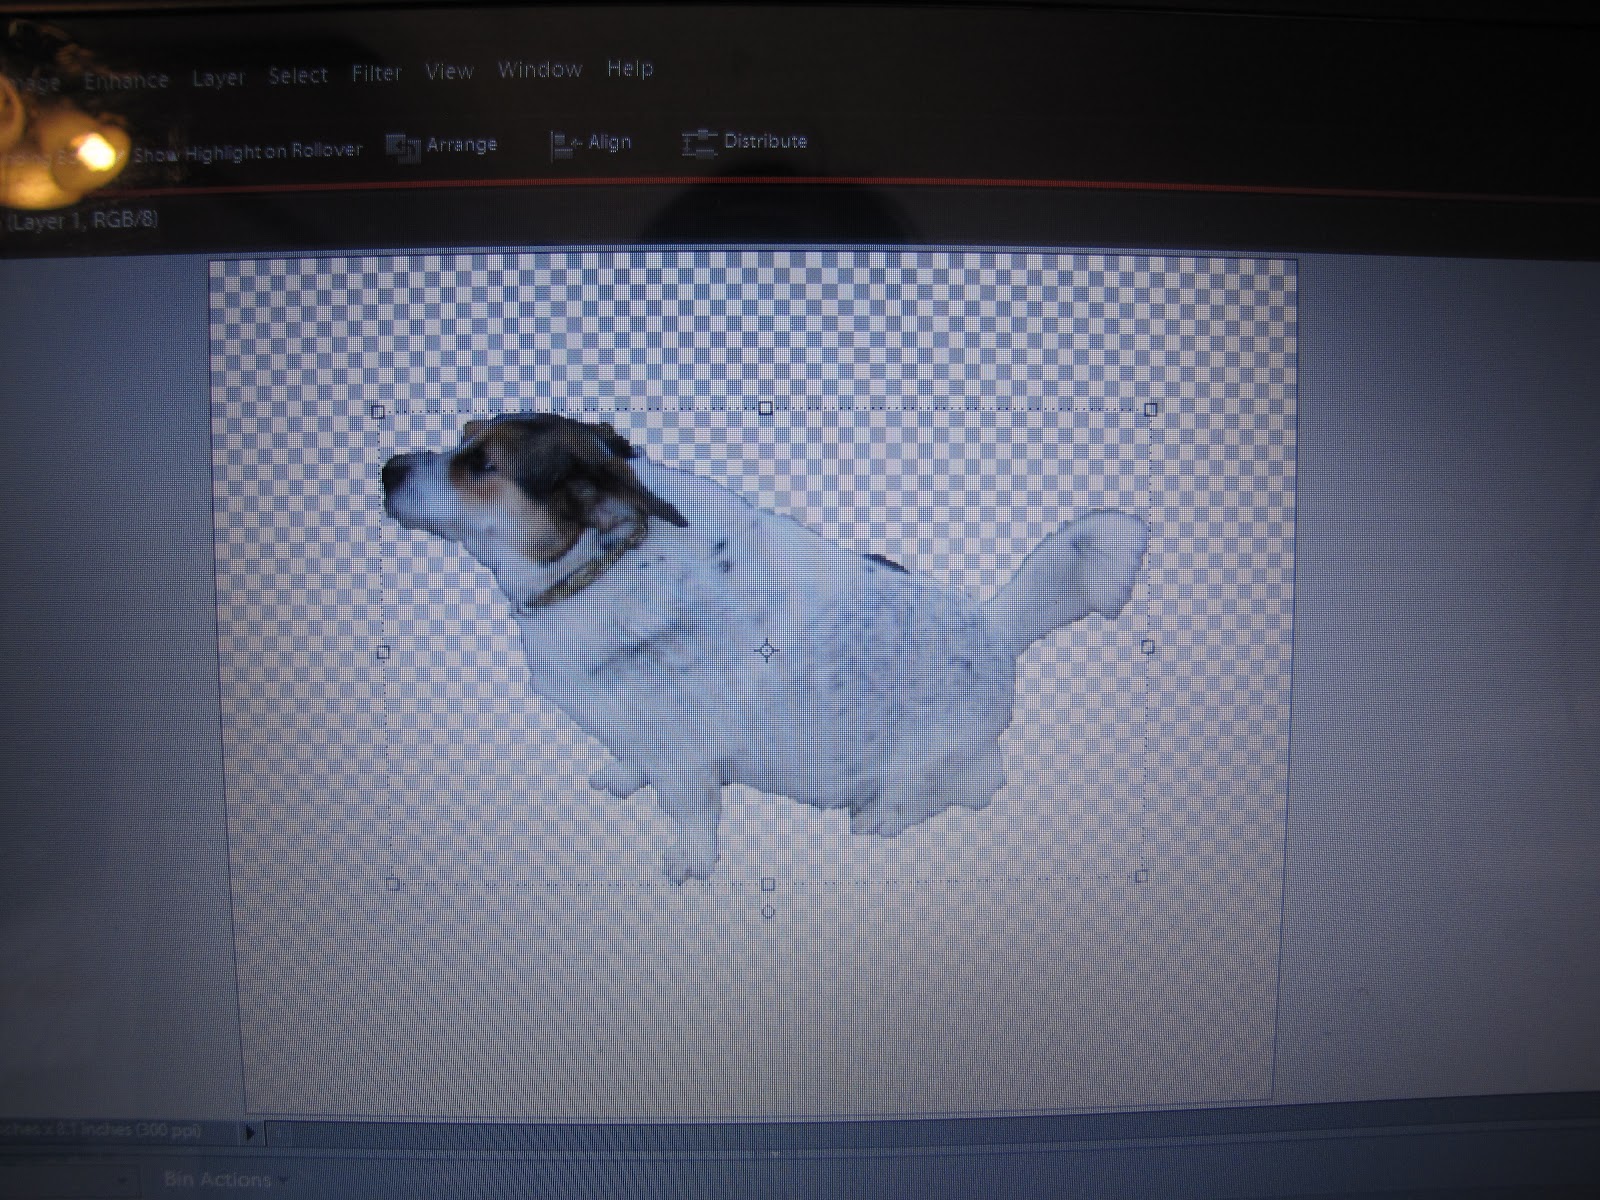
Step 1: Open up the picture you want to use in a Photo Editing software. I used PhotoShop Elements. Once opened, select the "quick selection tool", highlight the part of the picture you want to use, here I wanted just Thelma. Hard to tell but you will have "blinking" dotted lines of your selection.

Step 2: Open up a new blank file. Make sure the background is set to transparent. Now go back to the picture and drag your selection over to the new blank file. This is what you should have. Save it as a .png.
Step 3: Go to Silhouette Studio Software and open up the .png file you just saved.

Step 4: Go the "Trace" option. It is the 4th to last box on the right. Hit "Select Trace Area". Draw a box around your picture. It will be a blue box...sorry forgot the picture here but you will see it below.

Step 5: Turn off the "High Pass Filter", and up the "Threshold" so your entire picture is yellow, see picture below. Hit "Trace Outer Edge".


You can move the color picture to make sure you have the trace edge you want. Move the color picture back over the tracing. If you need to adjust the size of the picture. You will first need to group both images together then resize by dragging the outer points. I didn't need to resize so I don't have picture for that step.

Step 6: Pick out your fabric you want to use. Cut it at least 1/2 inch bigger around than the size of your image. Cut out your interfacing; I use Heat n Bond Lite. Iron the interfacing and fabric together; make sure the rough side of the interfacing is on the back of the fabric. Once cool, peel off the interfacing backing and put the fabric onto the Silhouette Cutting Mat. Be sure you line up the fabric just where your picture is in the Software; use the grid for guidance. Load your machine.

Step 7: Send to Silhouette. Be sure to change the Current Settings to "Fabric Cotton Print" and check your blade setting requirement. I use the fabric blade, the blue one. Hit "Cut"

Step 8: Peel off the fabric from the mat to revel your cutting. Peel off your cutting. Place onto your item of choice. Mine is a white sweatshirt for my daughter. Iron into place.


Step 9: Stitch into place.


My daughter hasn't worn her shirt yet. I plan to let her wear it tomorrow as we go ice skating for our Family Day.
Linked up at:


1 comment:
What a nice way to remember her! I love the red and white fabric!
Post a Comment